Monday, September 30, 2013

Test quilting

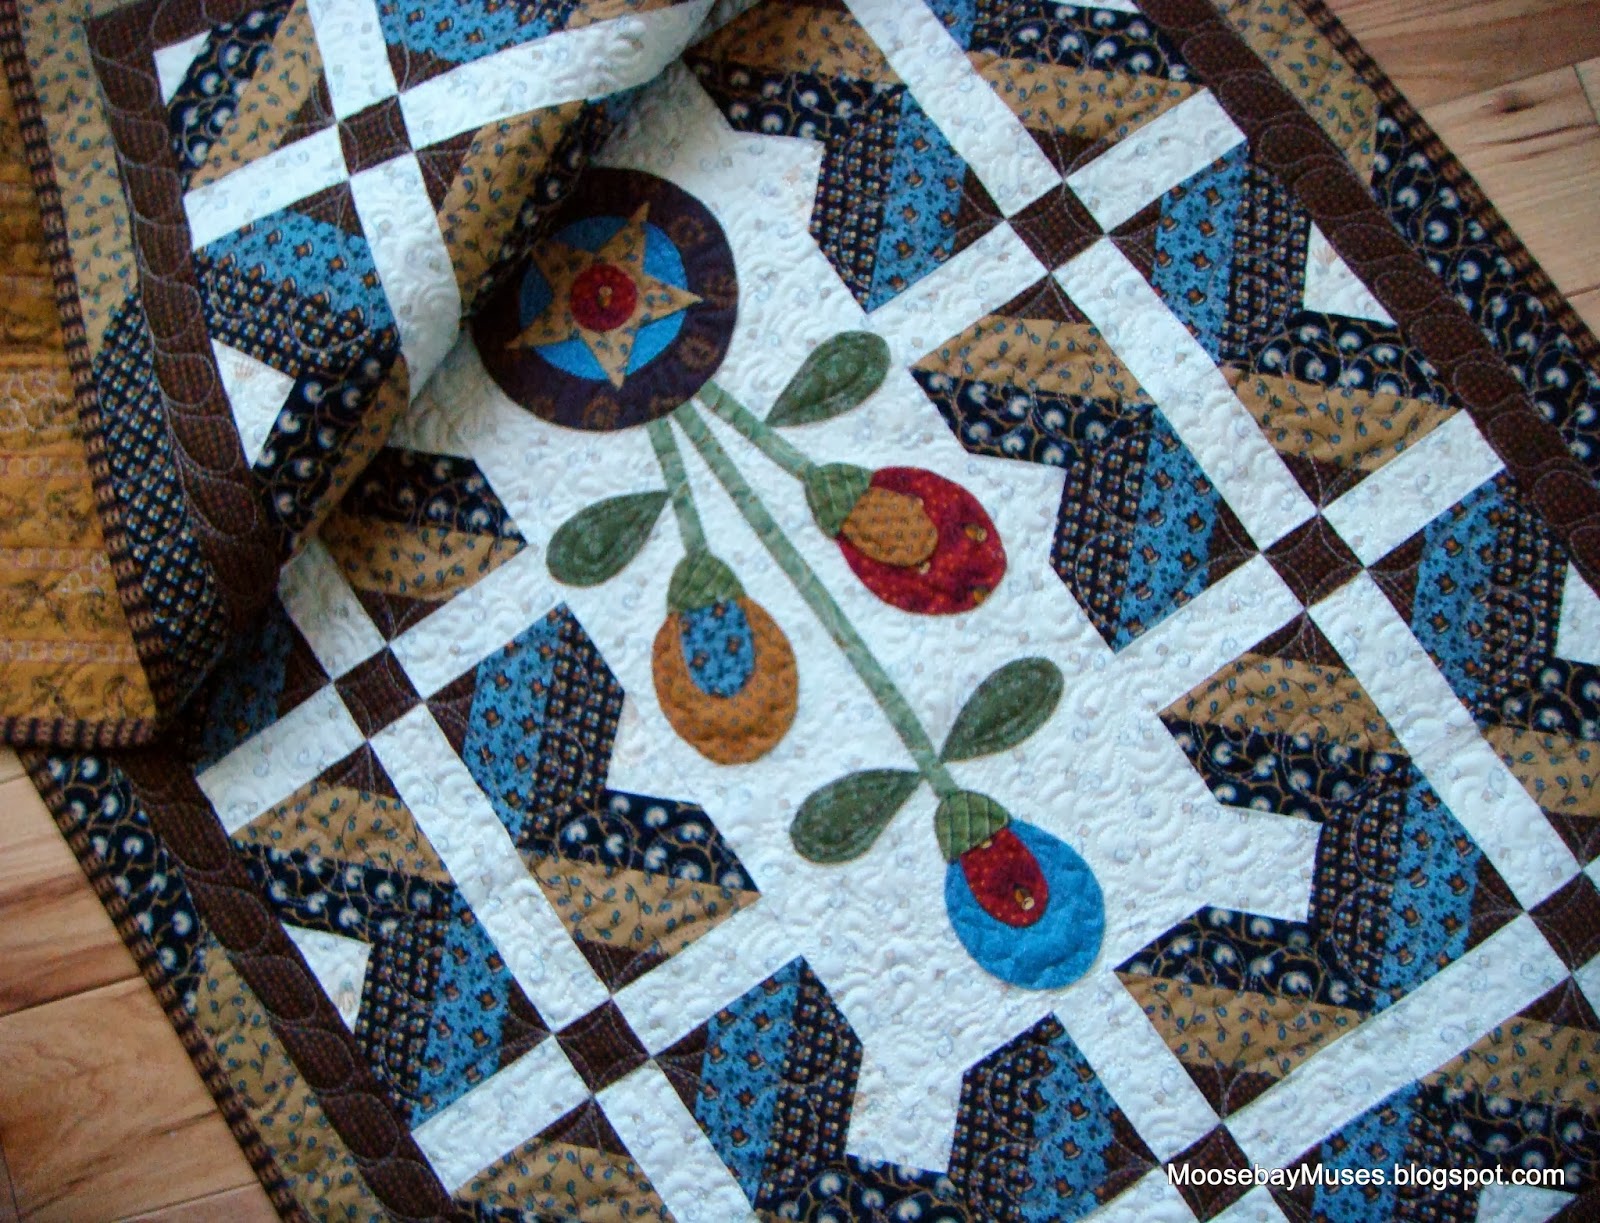
Finally, I got a chance to test out my new upgrades on my HQ16. Mr. Moosebay and I installed all the new tracks, poles and carriages over the Labor Day weekend. It seems like just a few days ago, but it's been a month and I hadn't even turned it on to see if it still worked.
I chose the smallest item from the UFO bin. It was also on top since I had just made it this month.
Nothing goes into the UFO bin until it has backing and binding to go in the bin with it.
Otherwise, they are in the WIP pile--works in progress!

I love my new upgrades and I should have done them a long time ago--a huge difference as far as control goes and I think my stitch regulator works a lot better too. It's placed in a different area on the new carriage and makes good contact with the new track.
Too bad all those upgrades didn't make me a better quilter.
I need to start practicing my design drawing so when I am ready to go to machine, my brain knows what to do!

I've been a bit under the weather (having a bad reaction to my flu shot) and this coming in the mail definitely cheered me up!
 I won a drawing on the French General blog: The Warp and the Weft but I had no idea what my prize would be. 

A beautiful jelly roll of reds, creams, tans and browns all wrapped up in pretty toile tissue paper!

I hate to admit this, but as the owner of approximately 10 jelly rolls, I've never been able to unroll one and make it into a quilt. Hopefully, I will find a pattern and get something going with this one!
I still have some pieces from a 
bundle of French General Maison de Garance that would coordinate with Josephine, so I should have plenty of options. Josephine is full of birds and bees--I love it! I already know I am going to have to have some yardage of the Oyster Bees!

Friday, September 27, 2013

Not Quite a Schnibble or More Than a Schnibble?

This months pick for Another Year of Schnibbles hosted by Sinta and Sherri is a brand spankin' new pattern by Miss Rosie. 
It's named :
Image of New Schnibbles ~ Paper
Isn't it pretty? I love the French General fabrics!
You can download the pattern right now--click HERE
I had planned to make Mercerie, but something was nagging at me--it reminded me of a quilt I've been wanting to make ever since I idiotically missed out on a swap for this quilt:

This is also a Miss Rosie pattern from 2006.
It has the same overall effect of the circles and looks like it's constructed in a similar way,
but with a few more triangles.
I knew if I made that cute little Mercerie, I would never make Quiet Time, so I dove into my scraps and got busy cutting and sewing. A lot of cutting and sewing!

Each block requires a light and dark Half Square Triangle,
and two hour glasses using the same two fabrics as the HST's. 

Arrange them like this. I always laid mine out with the "lighter" HST at the top right,
 although I'm not sure it makes a difference.
Obviously I ignored the directional fabrics--I was on a mission to get this baby finished!

Four of these blocks makes a circle.

Or you could make a cross.

Oooh...you could make zigzags too!

I opted for the circles, but I think if the top row were moved to the bottom
and left side row moved to the right, the cross design would show up.
But why mess with a good thing--Miss Rosie knows what she's doing, right?
I could barely fit these on my design wall--there are 120  blocks in all.
That bottom row is barely hanging on! 

Even after they are sewn together, it's a tight squeeze on the wall.
No "beauty" shot--it rained every time I tried to get outside for a good photo! 
Hmmmm...that Schnibble is pretty cute--I think four of those blocks set end to end would make a cool table runner...there may a Mercerie in my future after all...

Tuesday, September 24, 2013

Lab Test Results: DIY Best Press Starch Alternative

When I signed up to join the block swap I just completed, there were lots of rules. Some of the guidelines pertained to the type and style of fabrics used, pre-washing the fabrics, use of unscented products, deadlines, etc.
I think the hardest thing for me was using unscented products. A lot of quilters have allergies to the scents added to detergents, fabric softeners, dryer sheets and starches. Of course, you don't want someone to have an allergic reaction to the blocks you submit to the swap, so you have to be sure to follow through on this guideline! 


I've used the same liquid laundry detergent since the 1970's. My oldest son had terrible allergies back then and it was the only product that didn't cause him to break out in a rash. So I stuck with a good thing and haven't had any reason to change. I don't think my detergent has a very noticeable scent, but I'm sure there has to be some sort of scent added to it--maybe after over forty years, I'm desensitized?  To be safe,  I ran my fabrics through just a rinse cycle and then dried them without adding a dryer sheet.

But then came the construction of the blocks. I hadn't realized how much I depended on my Mary Ellen's Best Press Clear Starch Alternative!
 I love the scents. 
I love how crisp my fabric feels.
 I love the steam facial I get while pressing. 
Mary Ellen Products Best Press Refills 1 Gallon, Lavender
I know it's available in an unscented version, but I had at least half a gallon of Lavender Fields to use up and didn't want to invest in any more Best Press. 

(FYI: When your significant other is carping about the price of milk and gasoline being over $3 a gallon, DO NOT mention that you paid $42 for a gallon of Best Press!)

Someone in the swap group mentioned that it was possible to make your own "best press", so I did a little research and found several recipes online. Just about all the recipes I found used distilled water and vodka. Apparently, the vodka, being made from potatoes (or wheat, I have learned) has a starch effect that contains no scent. I decided to give it a try. The recipe says to use the cheapest possible vodka, because the idea is too save money!

Basically all of the recipes boiled down to :
24 ounces of distilled water
3 ounces of vodka
Mix together and store tightly capped.

Cons:
1) I didn't really feel like the vodka/water mixture did a thing to crisp up my fabric. I thought about upping the ratio of vodka to water, but was afraid of scorching or spotting. (There are recipes that suggest adding a teaspoon or so of corn starch, but that seemed like it would also cause spotting, so I didn't try it.)
2) If you aren't happy with this mixture, you are left with a lot of cheap vodka that you will have to figure out how to use up in something else.
3) The sewing room smells like a cocktail bar. Caution: spouse will not believe you are just ironing.

Pros:
1) Cheap
2) The mixture absorbs into the fabric very fast, and when pressed, evaporates quickly.
3) The sewing room smells like a cocktail bar. Caution: could cause craving of wine at 9 am.

I will continue to use up my pint of cheap vodka making starch alternative, but will be going back to my Lavender Fields ASAP.

Friday, September 20, 2013

Not Much Happened?

Here it is already Friday and I feel like I haven't accomplished much anything this week.
 I am trying to think back and figure out where the week went. 
Monday was the last Stitch Therapy meeting of 2013.
 I completely blanked out and took NO photos--my bad!! 
This will be our project in 2014: Simply Red by Kathy Schmitz
My test block is red wool on a Primitive Gathering's background.

A photo from the book shows the entire quilt:
It measures 54"x 65"
There are 388 half square triangles and 120 flying geese.
Or you could figure out your own setting. 
In class we will be focusing on the applique blocks.
I will be doing mine in wool (and Cherrywood for the piecing).
I may have to do my blocks in (surprise!) blue.
The book is written for fusible applique, but the designs are simple enough to do in turned edge applique if you wish
.
These blocks would also be pretty cute just embroidered--they are about 6" square.
So, there are lots of choices to be made!
I know a few of you are going to do Simply Red in cream, tan and black, and I think green was also mentioned.
Of course, red would be totally classic and even make a great Christmas quilt.
It's going to be a lot of fun to see how everyone makes this quilt their very own!

The back cover shows all the  projects in the book.
You can order a copy from Colorz for Quilts for $14!
 On Tuesday, I managed to get the tracing done on the large center block of Words to Live By, and got most of the fused applique finished too. I've been doing bits of the embroidery in the evenings.
It's going to take a while to embroider around all those berries! 

There's also been some triangle trimming going on!

Sunday, September 15, 2013

Mid September Already!?!

I'm not sure what happened to this week--it flew by so fast! 
Yesterday I had a long road trip to celebrate my aunt's 95th birthday. 
I sure hope I inherited some of those longevity genes! 

Last Monday our guest speaker was Deanne Eisenman. Deanne has written a couple books for Martingale and is currently working on a book for Kansas City Star books on the history of applique--I can't wait for that one! She also designs patterns for her company Snuggles Quilts (named after her cat who helps her work on her quilts). Her patterns are scrappy and most have applique--two of my favorite things!!


This is Through the Seasons--all four versions come in the pattern.

Garden Path pattern set.


Basket Banter includes four seasonal baskets!

Ack! I didn't buy this pattern--what was I thinking?
These three table toppers are from the Scrappy Gardens pattern--
There's a Scrappy Gardens Too pattern--equally cute!

There are also large scrappy pieced quilt patterns--this one is Scrappy Happy.


Scrappy North Stars
I did buy this pattern--love it! That's Deanne telling us about the quilt. 


This one had very cool quilted circles.
I think it's called Paper Chain

This is from the Scrappy Runners pattern that we used in class on Tuesday.
It comes with 2 versions in one pattern.
.
From Scrappy Runners Too.
More buyer's regret--I should have picked this one up--I love the little geese!
I could see this as a fun throw size.

Country Home Sweet Home comes with four inter-changeable panels.
Did I mention that all of these patterns (even the multiple project patterns) are $9.00 or less?


This is my finished Scrappy Runner: Bullseye version.
I used mostly fabrics from Jo Morton's Savannah line along with some scraps. 

In class,  we did our piecing in the morning.
After lunch, Deanne taught us a needle turn technique for the applique.
Lucky you...she has an applique tutorial on her blog HERE!
Scroll to July 29th through August 9th. 
I plan to get this quilted soon. Even though I haven't  turned on my HQ16 since we installed all of my upgrades over Labor Day weekend, I'm hoping to see a huge improvement in my quilting abilities--ha! 

Monday, September 9, 2013

Rainy Days!

We've had a couple rainy days, so I was able to do some catch up sewing.
These are the September Chicken Scratch blocks from Country Threads
.

September Dixie Diary Star block.

September Dixie Diary Heart block.

I finished the 13th freebie block from Primitive Gatherings.
I'm ready to start on the finishing kit that arrived on Friday. 

The Family block for Words To Live By

I'm taking a class tomorrow (more details to follow soon). We were instructed to cut our fabrics, but it seemed like there would be a lot of piecing to do in class, so I made the components that go into the 14 blocks needed for the project.
We will be doing some applique onto the pieced project.
These look like string blocks but they are actually half square triangles with flipped corners. 

This is how the blocks will look when they are put together.
I like the little shoo-fly it makes in the center-cute!
I'm using some of my new Jo Morton Savannah fabrics.
I guess if I get my piecing done early in class it will give me more time to visit!
W

Saturday, September 7, 2013

Flying Goose Ruler Tutorial/The Blocks are in the Mail!

I felt like a huge weight had been lifted when I finally got those swap blocks in the mail on Wednesday morning.
These are extras since some have dropped out of the swap.
I plan to use them as quilt labels. 

I figured it would be best to do the signature first in case I messed up (and I did!) while signing the block center.
I needed to sign 60 small blocks and 60 larger blocks, so I printed out my "signature" and drew a template around it. Then I could slide the fabric into place and trace my name and location. I pressed 4 pieces at a time onto freezer paper to stabilize before adding the signature. It went surprisingly fast. 
 The small block was a 4.5" snowball. I got those sewn up a couple weeks ago and last week got the "flippy" corners pressed out, trimmed the extra fabric from under the triangles and then squared them up to size. 

The larger block is another story. I'm not sure of the block name, but it's basically a central signature square surrounded by flying geese with cornerstones. 
Thankfully, someone in the swap group mentioned the Eleanor Burns flying goose ruler. 
These rulers were new to me, but I've since purchased the Small Flying Geese Ruler (the one I use here) and the Mini Ruler Set that has 2 FG rulers and a fussy cut ruler. 
Each Flying Geese ruler has 2 sizes on it.  
You start with 2 squares--one smaller and centered. Mark and stitch a quarter inch from the center line.

Cut on the center marked line. 

Open and press to the larger piece.

Layer with opposite fabrics together, matching corners.
Note that the previous seams don't match up.

Mark and stitch as before.


Again cut at the center line.

See that little mark at the bottom of the triangle? You make a clip there.

That clip allows the seam allowances to be pressed in opposite directions.
Do this to both of the pieces you just sewed. 

BOOM! You just made 4 flying geese and you only had to sew two seams! 

Okay, I lied. You do have a little more work to do.
You need to cut them apart.
You could use a regular ruler, but Eleanor has a bunch of these flying geese rulers that make it SO easy. 

I offset this so you could see the line, but you would line it up exactly and cut around the ruler--
easy, peasy and your geese are perfect!

There is some fabric waste, but if you did flipped corners,
you would have also have waste and your goose probably wouldn't be as perfect as these are.


Okay...now BOOM--4 flying geese!
You can see Eleanor in action using the ruler HERE

This is the block set up on my design board. 

The small blocks went to California and the larger blocks (plus one small block) went to Virginia.