Before I spent two days doing intensive long arm training, I was able to finish up my EQ7
July Summer Drawing Series Block Three. I've been doing 2 blocks each month, but this month was an applique block using Patch Draw. I just ran out of time to be able to get a second block done, but I am really happy with the block I finished.
 |
| My lesson printouts |
 |
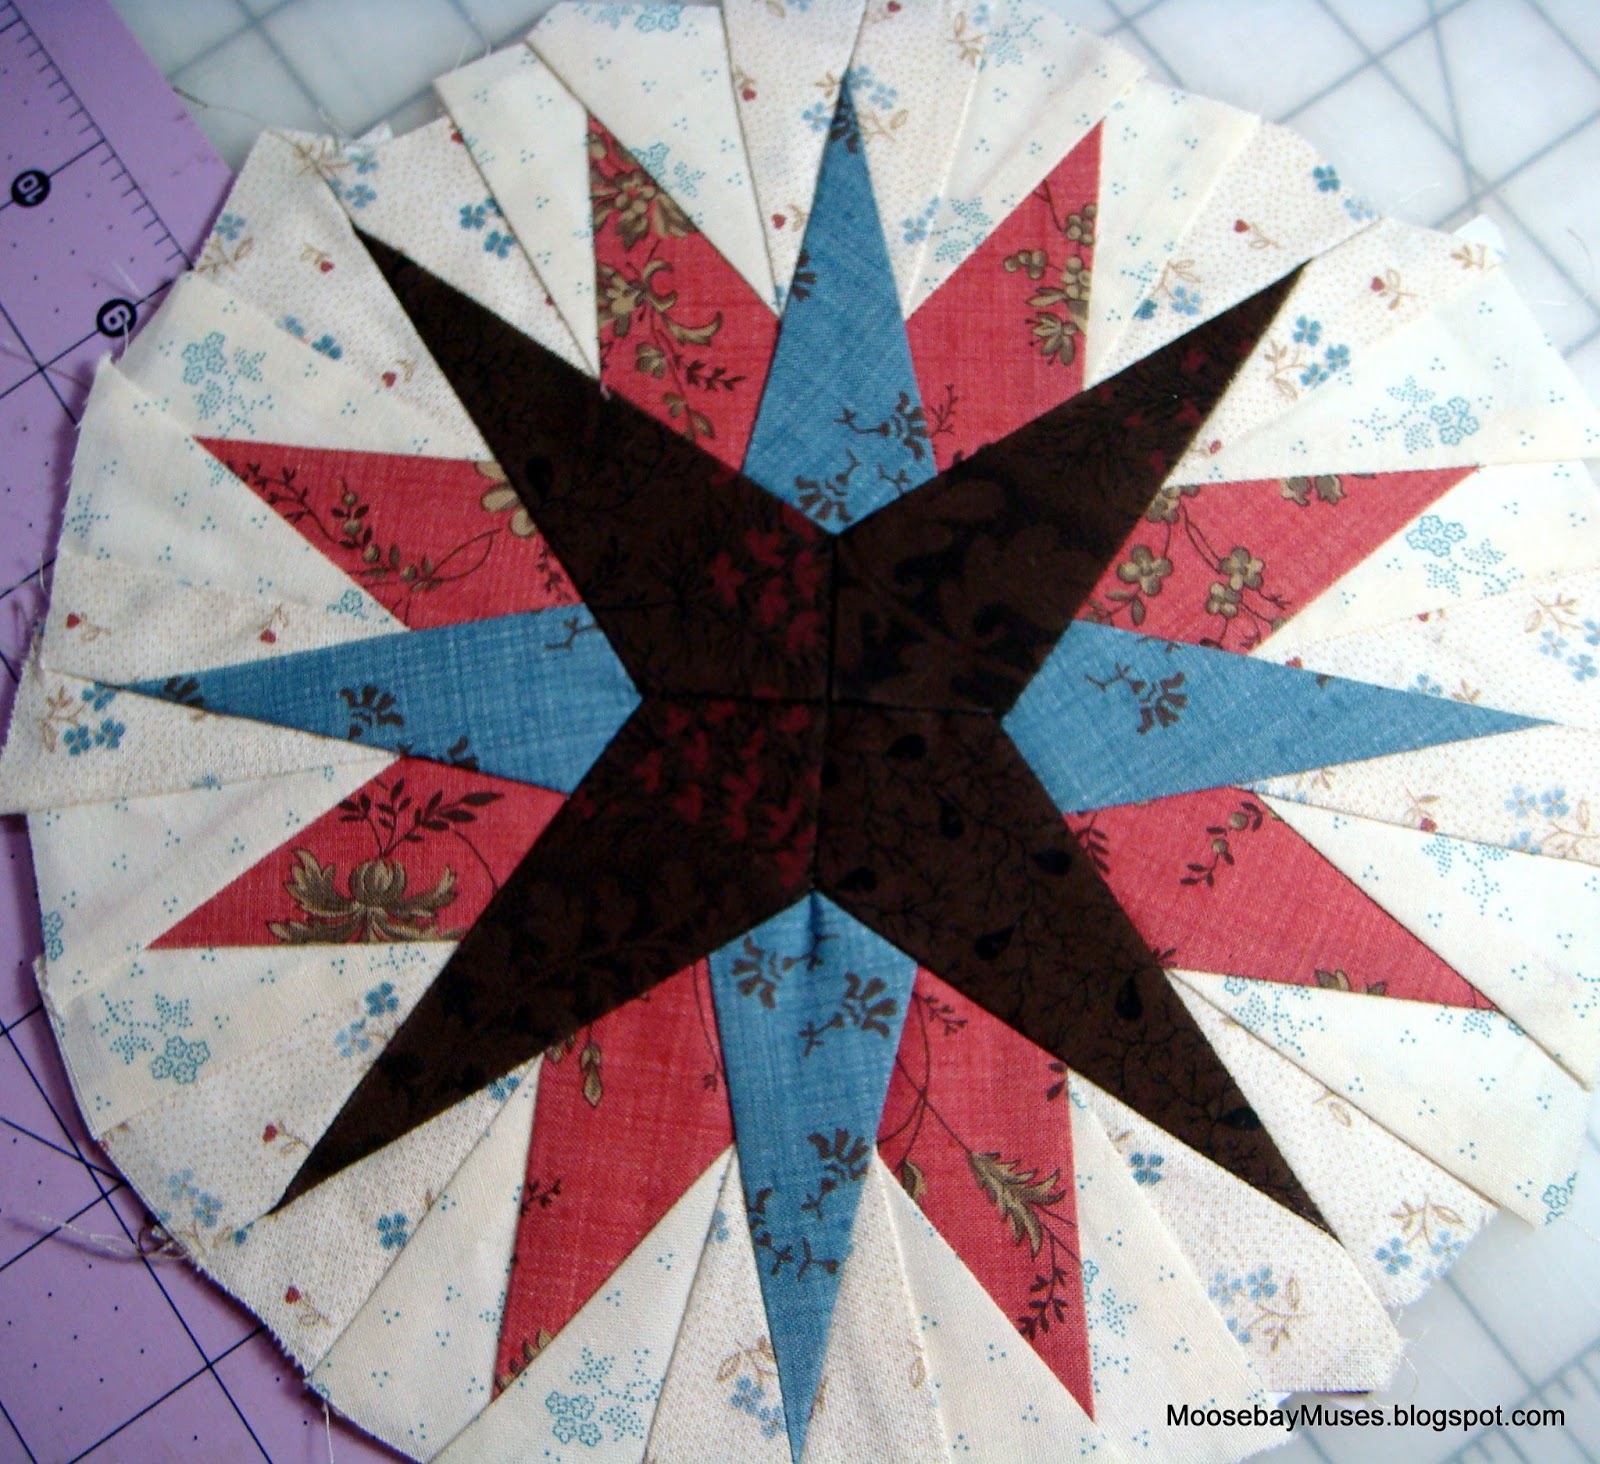
| My completed block |
 |
| I think it works okay with my previous blocks. |
I signed up for four classes with
Mary Beth Krapil, a Handiquilter Educator. The classes covered freehand designs, ruler work, pantos and groovy boards, and most importantly, thread, needles and tension. I learned a lot and I am going to try to follow through and do at least a little quilting everyday.
 |
She did a lot of marking on the fabric with chalk to show us different designs.
This one is called E's and L's. Or maybe it was L's and E's? |
 |
| This is a tiny version of E's and L's stitched out. |
This was one of my favorite free hand designs--Mary Beth made it look so easy!
There were lots of other fun designs and I have tons of photos on my iPad to refer back to.
The classes took place Friday and Saturday at Country Fabrics. Deb and her Mom took really good care of us foodwise. I'm pretty sure I gained about five pounds in two days!
Of course, there was a lot of shopping therapy since we all had to have every tool Mary Beth demonstrated!
I won this fun charm pack in a drawing!
On Friday night, we were encouraged to bring our UFO's to get ideas on how to quilt them. That was a lot of fun...I think I got some pretty good input--now to just get those UFO's on the machine!
I happen to have my Lincoln Schnibble loaded on the HQ16 right now. I plan to do an all over pantograph design on it.
 |
Not too much longer to find out what happens with these little guys.
I have all 31 stitched and ready to go! |